Old cards and new scenes
a festive activity for the winter season
Having a bit of a fidget?
Nothing to do?
Bored?
And it’s raining again?
(we posted this activity a while ago but are reposting here our friends at Creeping Toad have just made a little film to promote the activity…)
Why not dig out last year’s Christmas cards from the bundle at the bottom of the cupboard, or stealthily purloin one of this year’s, or the birthday cards you don’t quite want to throw out, or use a cereal packet (good card for making and folding, just maybe not as exciting in images as cards)
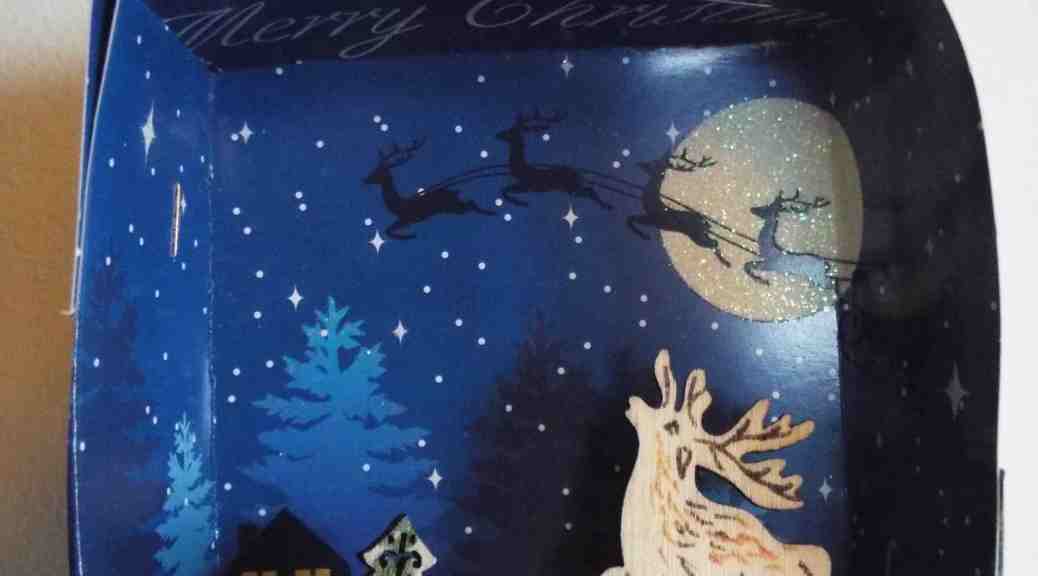
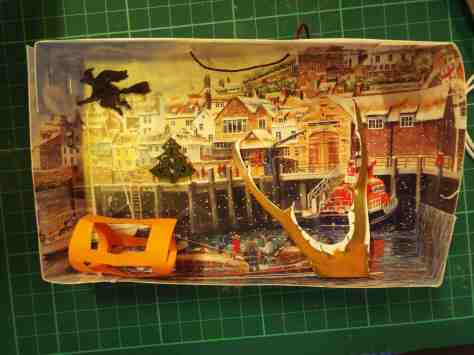
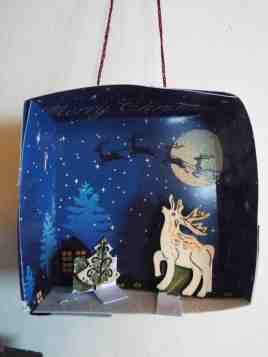
Make a little winter a scene to hang on a tree, a branch, a hook on the wall to stand on a shelf, or make a box to put that extra special present
 (or maybe just the key that makes it go) in
You will need: a card or two, sharp scissors, a ruler, pencils or pens, glue (PVA is good here) and glue spreader, stapler, bradawl (or something for making holes – a pair of compasses would work), thin string

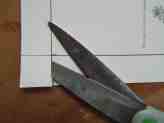
1. Cut the card in half along the fold – keep the “plain” half, you will need it later
2. Using the picture half of the card, on the reverse, draw a margin maybe 2 cm from each edge of the card
3. Where the lines cross at the corners, carefully cut along one of those lines to the point where the lines meet
4. This card usually folds quite sharply, so now (use the ruler for a straight edge if you want to) fold up along each of those lines and where you have cut in, fold the short bit to make a corner

5. Before glueing it all together, decide: if you are making a scene, keep the picture on the inside of the box. If you are making a box: you might want the picture inside or on the outside (you could always line the inside with some spare wrapping paper, or make a bigger box to become a lid.). Reverse the folding if you want to change the position of the picture


5. Making sure the sides of your box are sharply upright, glue the corner tabs onto the next side. A staple will hold it all in place. If the outside is too plain, you could colour it in or add some coloured tape. Or sprinkle it with glitter! ( we recommend finding some biodegradable glitter – or using some edible glitter {used on cakes} although this can be distracting….)
6. While the glue dries, prepare the scene to go in the box. Using the other piece of card (from stage 1 above), you could make a little tab to fix a figure to (we used some “embellishments” bought cheaply in a local craft shop), or you could draw your own character. Fix by glueing the tabs into the main scene. Again a staple might help. You might want to colour the tab so it fits into the background of the scenes. Some extra glitter might help again.


7. Use a bradawl or compasses to make a couple of holes (aim for places about 1/3 and 2/3 along the top side – use a lump of modelling clay under the card to protect tabletop or fingers), thread a piece of glittery string or ribbon through, knot it and hang up your scene.
Experiment with papers, colours, tapes, sequins. Try different places to hang them: from your ears? on your fingers (and create a fabulous dance around them)? a snowman’s nose?
Send us a picture and
we’ll post a gallery of scenes!